Weekend Cooking: Episode 1
Pizza Dough
Warning: This recipe contains gluten


So does anyone else like to cook using science? If you have read my about page, I’m sure you’ve learned a few things about my personality. I have a kind heart, a passion for art, and a love for food.
I’m also super competitive against other people, but mainly I’m competitive against myself.
I once made one loaf of bread - for 10 days straight, I’m not joking either. Call me crazy, but I would wake up, go to work, come home, “proof” bread for a few hours, form a loaf, bake it, and….then threw it away. Guys, I did that for 10 days straight. I had no idea what I was doing, so EVERY loaf came out wrong. Either the loaf was super dense, under-cooked, hard as a rock…you get the point, I just couldn’t get it right.
My husband thought I was nuts, but I was OBSESSED with getting it right. I continued to buy flour and I was determined to keep trying until i got it right.
What was I doing wrong? I WASN’T LETTING MY YEAST PROOF or I was just killing it? UGHHH….
My big moment was on night 11 though….I figured something out…. Are you feeling the suspense yet?!
Apparently the yeast needed a minute. Not just a minute though, it needed 10 minutes. It needed perfectly warm water and time, more specifically it needed 105-110 degree water. That night it was like all of the old horror movies when the mad scientist has a breakthrough and a huge thunderstorm hits at the same time. Seriously though, I felt like a scientist who had just found the cure! (too soon with COVID-19? I hope not) Anyway, my bread turned out great that night. I reviewed my notes from the past 10 nights and it’s safe to say my bread making days would change forever. I had cracked the code and opened up doors to all types of yeast bread, including pizza dough.
I guess the point of that story was to show you that everything takes practice, so don’t give up! Also, taking notes while trying to figure out a recipe is a foolproof plan. You might make this pizza dough and screw it up. In all honesty, the first time I made this dough was for a very good friend of mine and guess what?! I screwed it up! I just encourage you to keep trying the hard techniques, because once you conquer them, they won’t be hard, but just techniques instead. Also, remember to try to stay positive and just have fun while cooking!
Let’s get started Cooking….
Pizza Dough
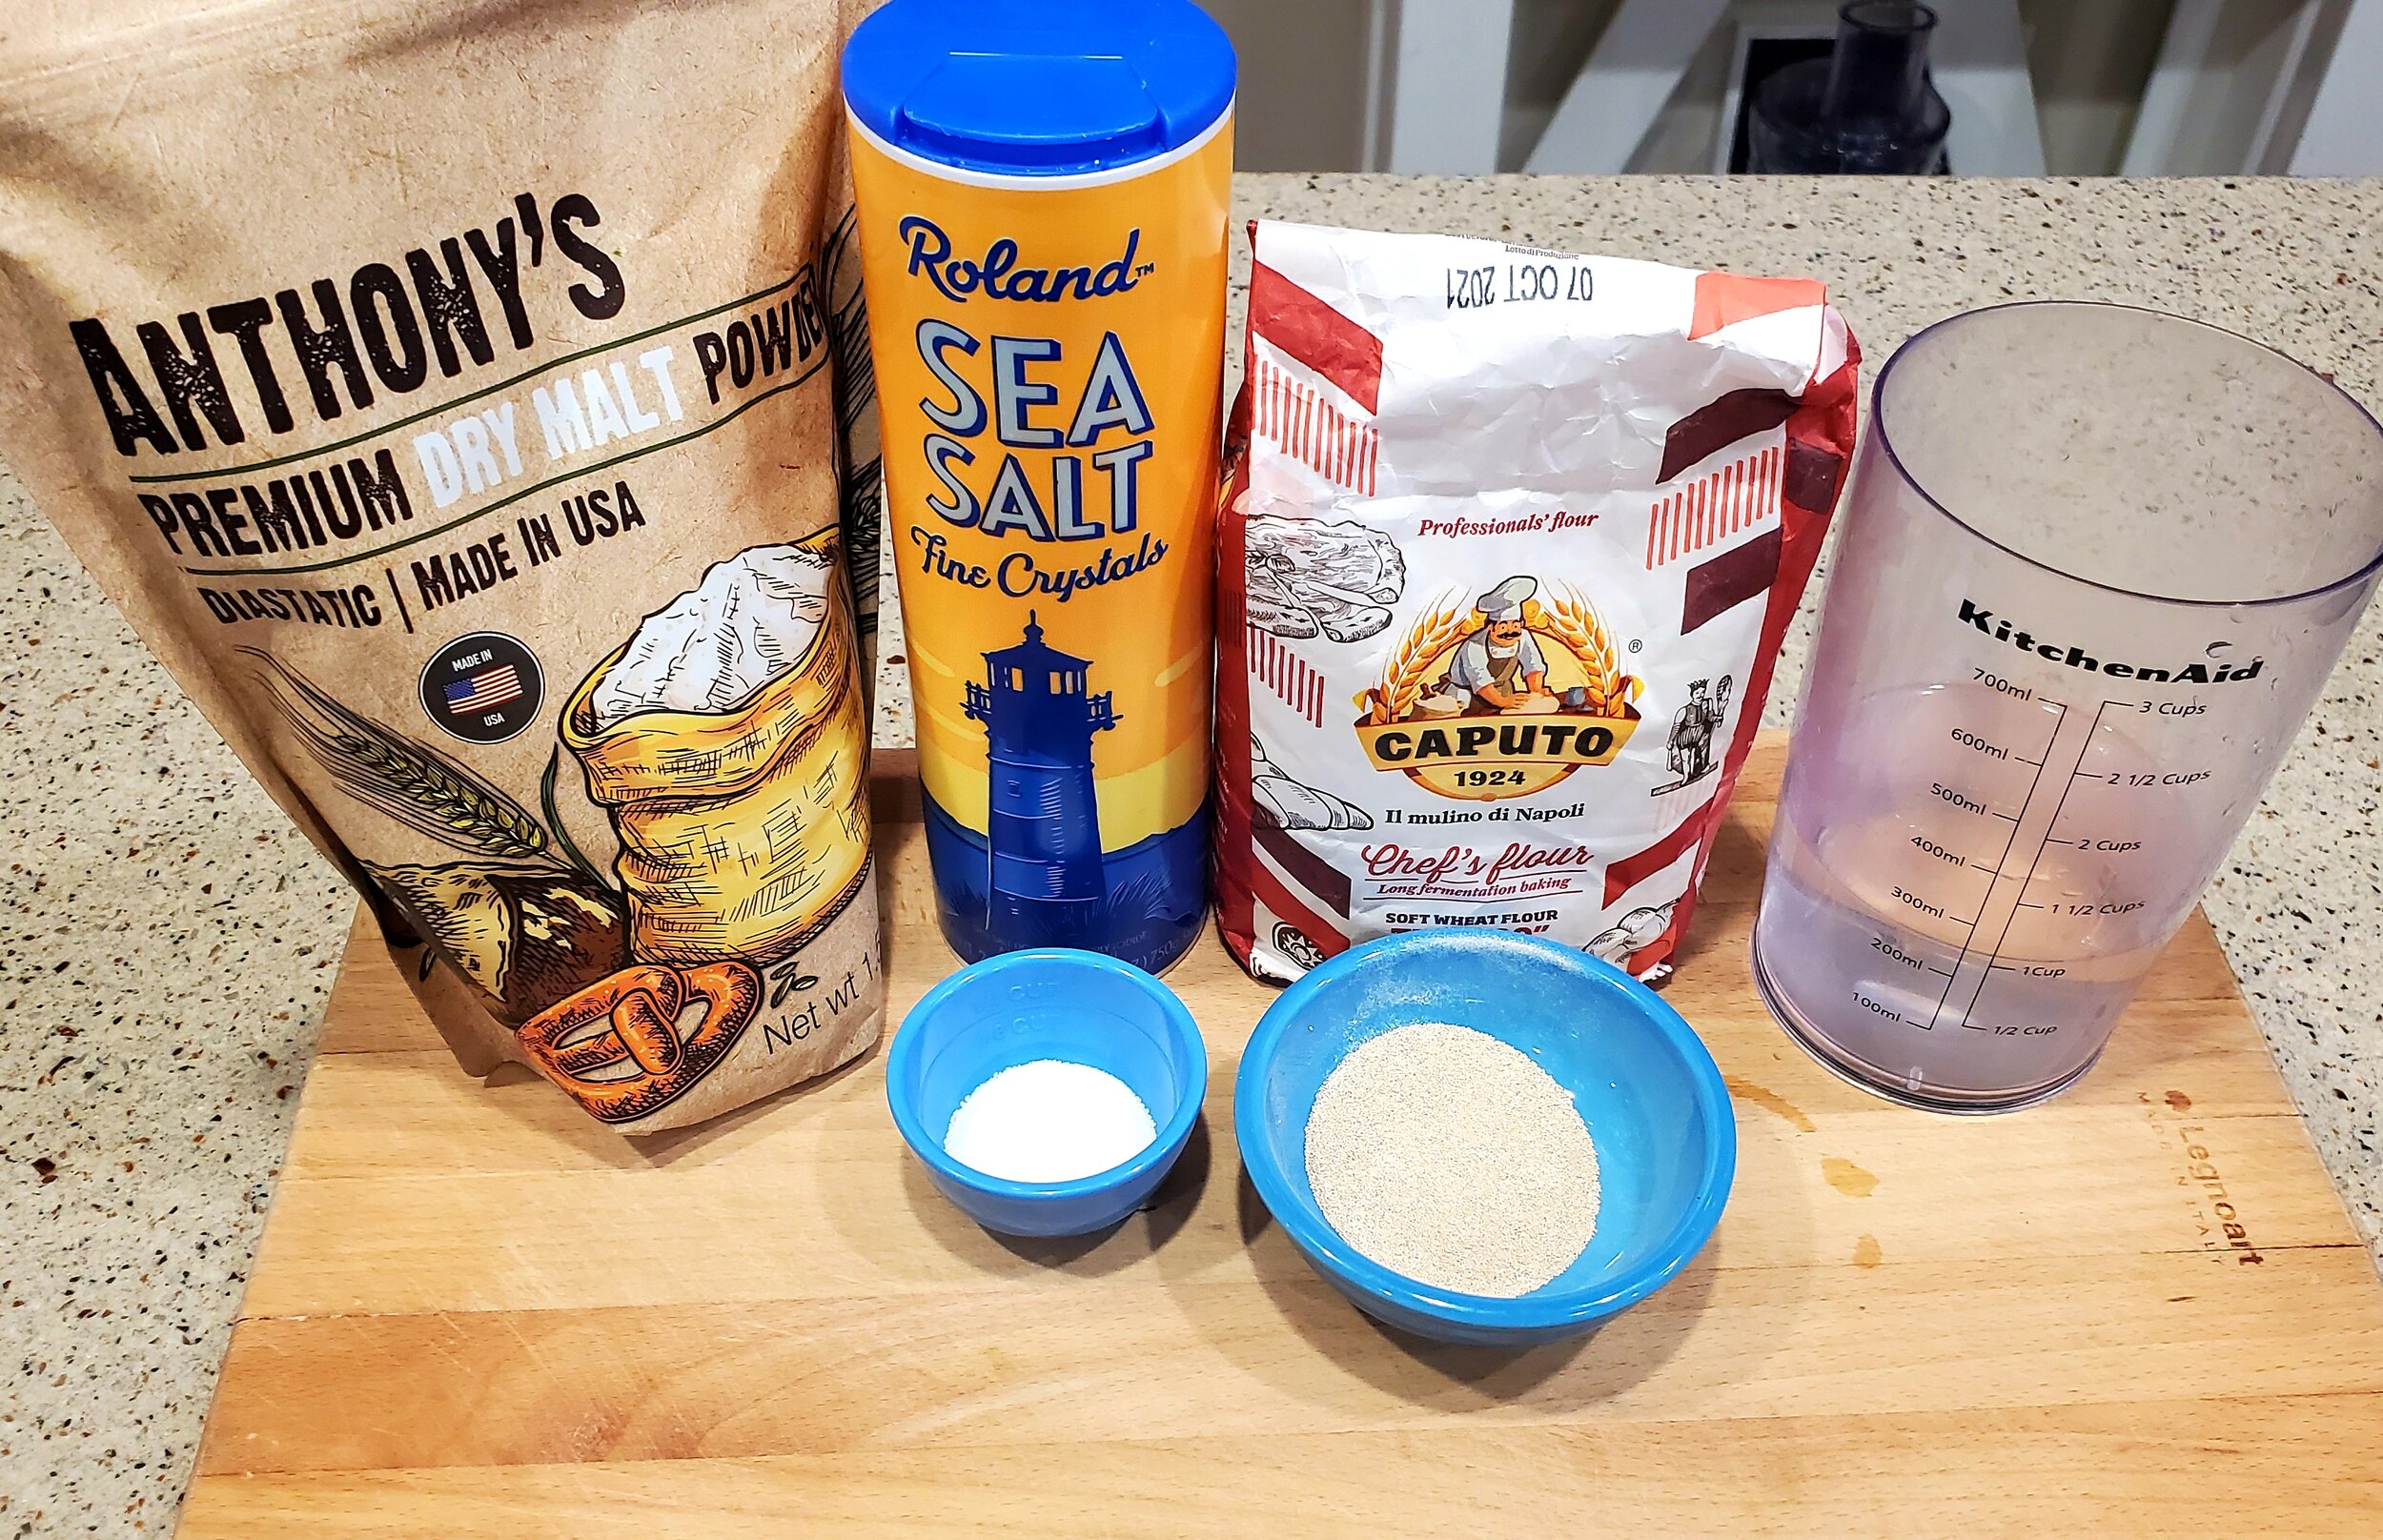
Ingredients:
2-1/2 Cups of 00tipe flour (or AP Flour)
1-1/4 Teaspoons of salt (I use fine sea salt, but whatever you have is fine)
1/2 Teaspoon of diastatic malt powder
1 Cup of 105 degree- 115 degree water
1-1/2 Teaspoons of instant yeast
1 Teaspoon of sugar
Directions:
1. Place the flour, salt and malt powder in the bowl of a stand mixer and mix.
2. Mix the water, yeast, and sugar together in a bowl and let sit for 5- 10 minutes to let the yeast bloom.

The yeast will look like this after 5-10 minutes.
3. Add the water and yeast mixture to your stand mixer and mix together.
4. Attach the dough hook and let it knead your pizza dough for 5 minutes.
5. Once the pizza dough is kneaded, place in an olive oil coated bowl covered with oiled plastic wrap for 1 hour.

While your pizza dough is resting, prepare your pizza sauce and pizza toppings!! Check out next week for a recipe for pizza sauce!
6. After the dough has rested an hour and doubled in size, punch it down with your hands.
7. Use a bench scraper, or a knife and cut the dough ball in half.
8. Using your hands, form two smaller dough balls.
9. Place the dough balls on a baking sheet that is coated in a mix of corn meal and flour.

10. Cover the dough balls in oiled plastic wrap and let it rest for at least 30 minutes.
11. While the dough is doing it’s final rest, Preheat the oven to 500 Degrees. Yes 500!
12. Place your pizza stone in the oven and let it get hot. I recommend the stone pre heating for at least 30 minutes.
After the dough has rested.
13. Using your fingers and a floured work space, form the dough ball into a flat pizza crust about 10-12 inches in size.

14. Using a pizza peel or a floured baking sheet, move the pizza onto the hot pizza stone. BE VERY CAREFUL!
15. Let this cook for about 4-5 minutes.
16. Using the pizza peel or baking sheet, remove it from the oven.

17. Next top your pizza with your sauce, cheese, and toppings.

18. Place the pizza back in the oven for 3-5 minutes until the toppings are browned.

19. Finally the pizza is ready to eat.
I always take this time to ask my son what he thinks….


He approved. Now go make pizza for your family!